
Picture This: Photography Tips & Tricks! (by Zach Morgan)
Hello, one and all! My name is Zach, and I am the product photographer and videographer for Woodturners Wonders!
In today’s world, everyone takes pictures. Pictures of food, people, pets, you name it, EVERYONE has become a photographer. The same can also be said for woodturners. Many woodturners now sell their work online, which requires a really good product photo to grab a customer’s attention. With so many different turners out there, it’s hard to make one’s work stand out from the crowd, but a good photo is a great way to do just that. Here are some tips and tricks to help woodturners take great photos of their work. Some of these might be familiar, some of these might be new, but they should all be fairly helpful!
Tip 1- The Rule Of Thirds
One of the most basic principles of photography is the rule of thirds. Normally, photographers try to line up their subject, or the focus of the image, with an imaginary line that divides the image in thirds. As an example, let’s look at a picture I took of some sanding pad holders for Woodturners Wonders.

Notice that nearly everything in the picture is lined up on a third. The two inch pads take up the bottom third, the three inch pads take up the middle third, and the mandrels take up the top third. However there’s more than just the horizontal thirds to consider! Note that the mandrels are also lined up each on a vertical third, so everything is symmetrical in the image. Good composition is something everyone can do regardless of budget, and it’s key when creating an interesting shot, so be sure to keep the rule of thirds in mind!
Tip 2- Backgrounds
Let’s face it, anything made of wood is a really busy thing to take pictures of. When I say “busy,” I mean that it puts a lot of details in the frame. With all the swirling grain, it’s very hard NOT to look at it. However, this focus can be ruined by one simple piece of a photo: the background. For a good picture that focuses on the piece, the background should be simple, clean, and preferably a different color than whatever the subject of the photo is. My personal suggestion for anyone taking pictures of their work is to get a light box like the one pictured.

A light box is a large cube that has lights and reflective material on the inside to provide even, soft, diffused light from all sides. However, these can get expensive for larger models. For those on a tight budget, a simple tri-fold board provides a great clean background for cheap and comes in a variety of colors (though I normally just use white), and a good LED lamp with a soft diffuser will create a nice even light similar to that of a light box. For those that prefer to take pictures outside, try taking pictures where there isn’t much going on in the back (like a blank wall), or try to get a background that isn’t the same color as the subject. I personally prefer a clean white background (and so do most online stores), but I have also used other colors in the past.
Tip 3- Lighting
Brightness isn’t the only thing to consider when it comes to lighting. When taking photos, also consider color temperature. Color temperature essentially boils down to what color the light is. To put it simply, a lower color temperature means a more orange or “warmer” light, and a higher temperature means a more blue or “cooler” light. Usually, light boxes have really good LED lights integrated with the box that give off a clean white light. However, as an alternative, I recommend the Constellation lamp for photography (and no, it’s not just because I work here!).

The Constellation has a dimmable light, the color temperature is adjustable between a clean white and a more blue tint, and you have a nice soft diffuser on the front cutting out harsh shadows. This lamp is so good I have actually taken some of our product pictures with it and you can barely tell the difference between it and the lights included in our lightbox. For those that choose to take their pictures outside, try getting your pictures during “golden hour.” This is typically an hour before sunset, or an hour after sunrise. The light during these times is not as harsh as the rest of the day and gives a nice golden hue, making it a perfect time for photography.
Tip 4- Staging
Even though the piece is supposed to be the focus of your pictures, that does not mean it has to be the only thing in the picture. To create an interesting and fun pic that will grab people’s attention, try adding some other objects in for context, scale, or as a focal point. For example, take a look at this photo I took for our 1” purple sandpaper.
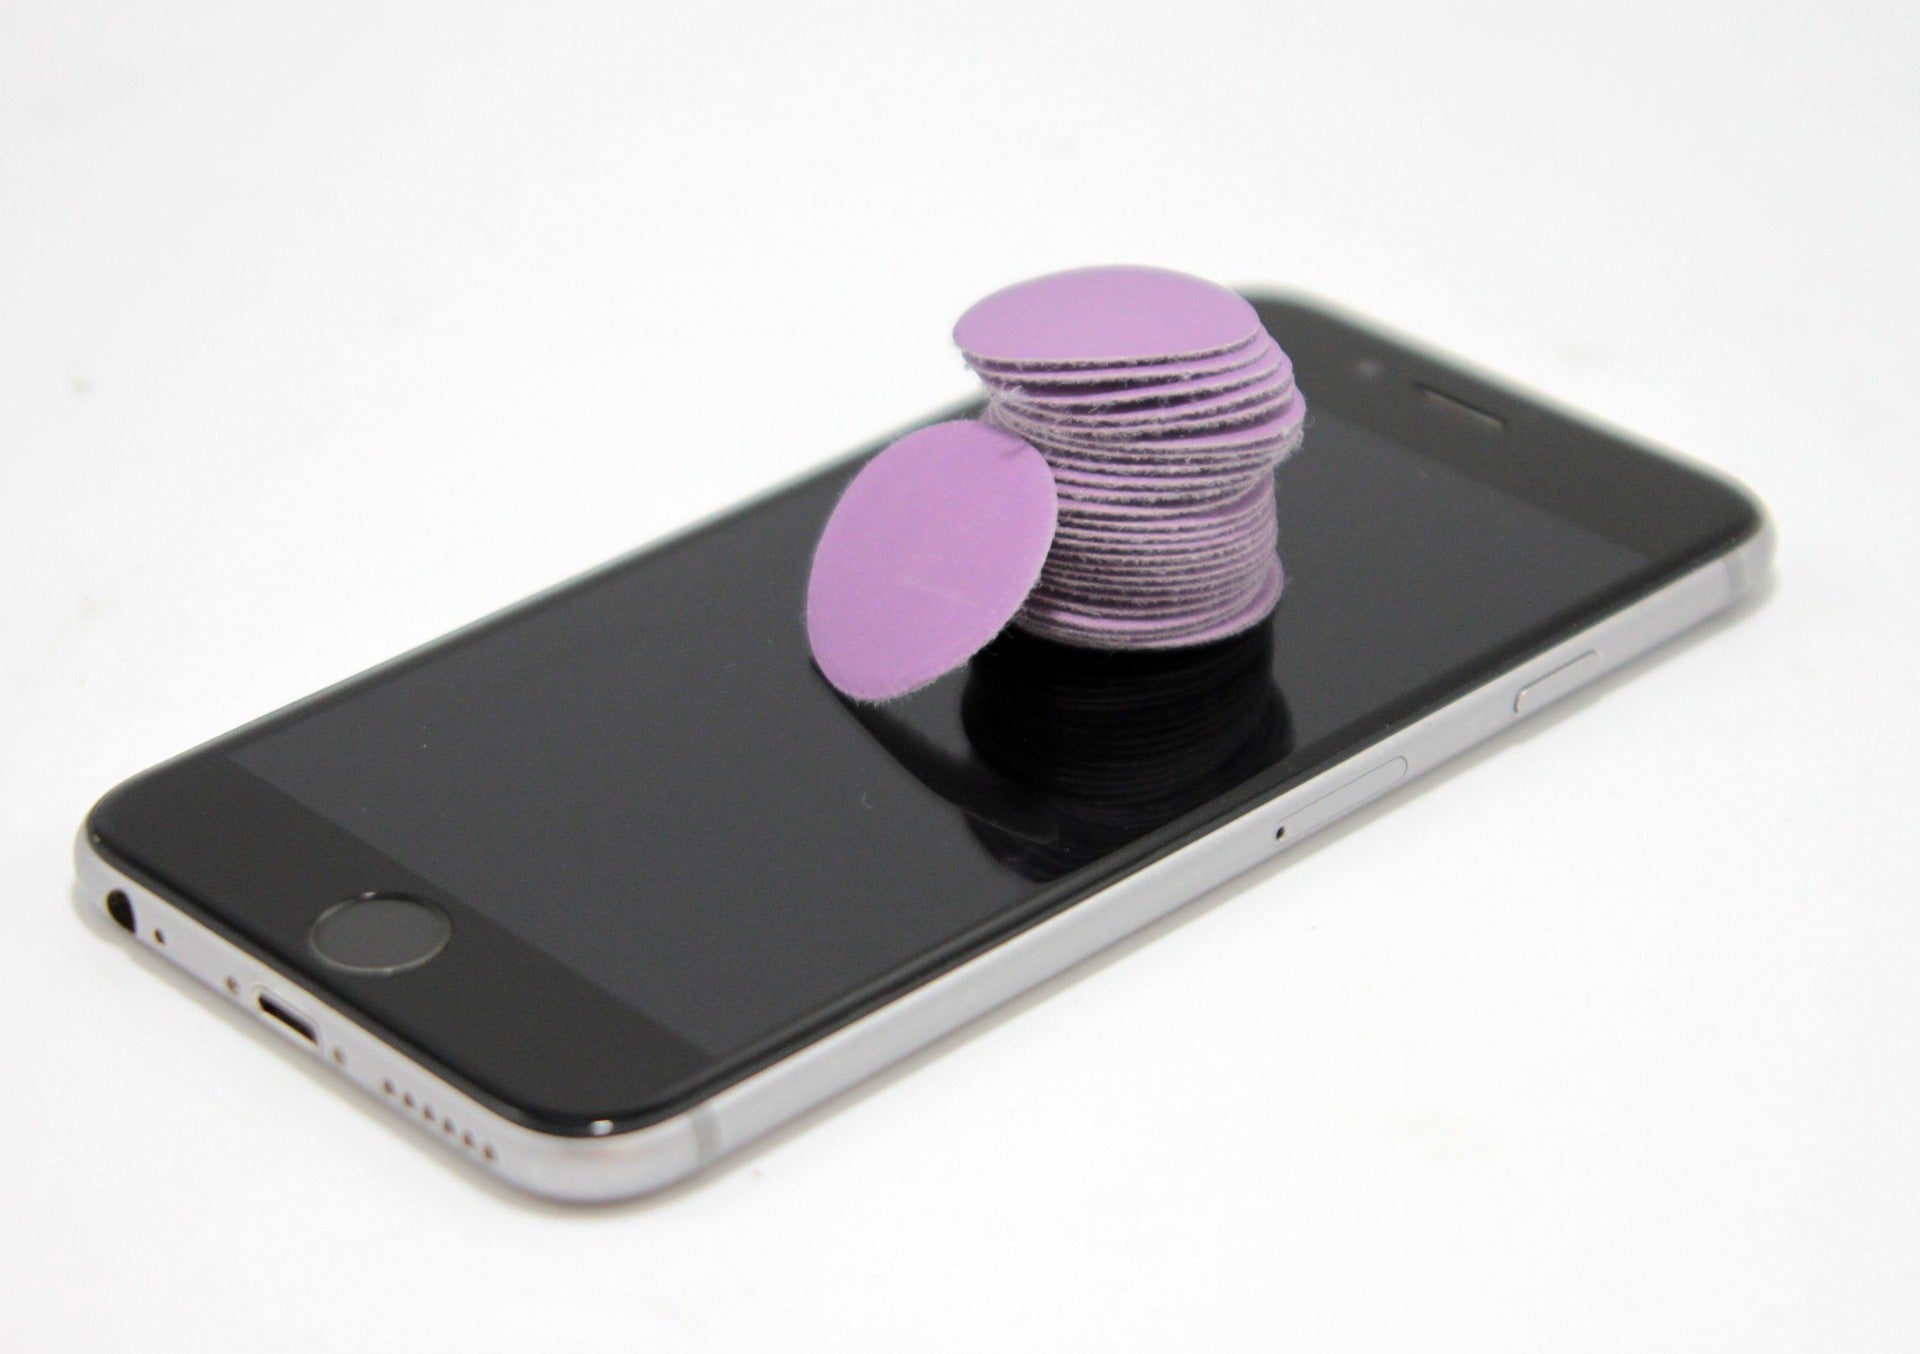
One can see there is more than just the paper in the photo, but it helps to give it a sense of scale and adds contrast to the photo. Plus, it’s a little more fun than just a picture of a pile of sandpaper. Try to add some interesting elements to your photos by including a fairly common object to help visualize scale (such as a pen), or by simply setting it on a pile of shavings. Have fun with it, but don’t distract from the main work with it. It is a delicate balance.
Tip 5- Equipment
Notice that I did not at any point mention that having a nicer camera would make the pictures better. That is because in many cases, most people carry around the only camera they will ever need in their pockets. If a cell phone camera is what you have, use a cell phone. Most phones have really good cameras on them now-a-days, and they will do if you have nothing else to take pictures with. If you can afford it though, I would recommend investing in a good DSLR (digital single-reflex lens) camera. With interchangeable lenses, plus the ability to take more detailed shots, a DSLR is usually considered the industry standard for photography. I personally use a Canon 7D Mk. I, with either a 18mm-200mm zoom lens for bigger stuff, or a 50mm prime lens that doesn’t zoom when I need more detail on smaller objects. However, it is completely alright to use a slightly lower quality camera if that is all you can afford, composition is what will truly make your pictures stand out!
Tip 6- Editing your pics
Of course with everyone becoming photographers, everyone has become a photo editor as well. In my opinion, however, many people misunderstand the entire point of photo editing. Most people think “This picture is bad, but Photoshop will make it better,” when this simply isn’t the case most of the time. In my opinion, editing applications like Photoshop or Krita should not be used to make bad pictures good, but rather make good pictures great. They are amazingly powerful tools, but the whole point of programs like Photoshop are to make things NOT look edited, if you know what I’m saying. Rather than just taking one picture and trying to edit it to perfection, take multiple shots so you can weed out what you like and don’t like. I usually take four or five pictures of each angle so I can then choose which one I want to edit, instead of just being stuck with the one I have. I might take upwards of 100 photos and keep ten that I actually want to edit. Most of the edits I do to my photos are global adjustments such as white balance and cropping. The rest I leave completely natural to let the true color and beauty of the product shine through.
Great photos are one of the major keys to success in this modern, visually driven world. It’s my firm belief that anyone, and I mean ANYONE, can take a good photo with practice and patience. Go out there and have fun with it!
Leave a comment